

Step 1: Create an AesirX Account
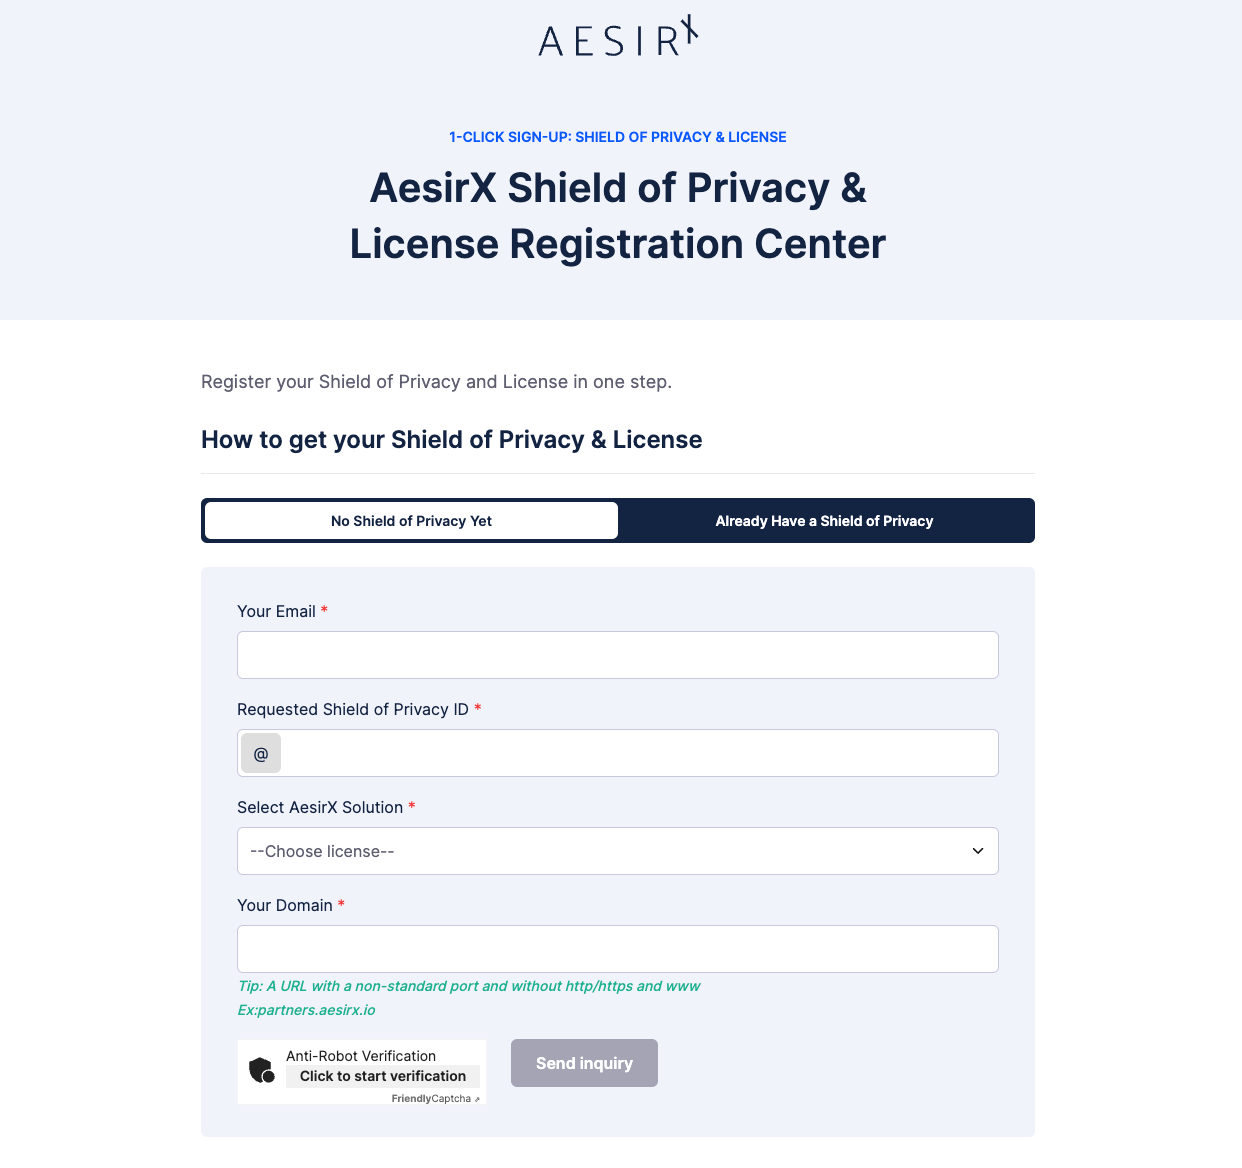
- Visit https://signup.aesirx.io/.
- If you don't have an AesirX account, click on the option to create one.
- Enter your email address, choose a privacy ID, and select "Anti-brute Force Single Sign On" from the Solutions drop-down menu.
- Enter your domain name and click "Verify" to submit your request.
- Receive your license information and a confirmation email to finalize your account setup.
Step 2: Install SSO
Install package in your ReactJS App.
Step 3: Enviroment
Add the environment variable file (.env)


NEXT_PUBLIC_SSO_CLIENT_ID=[REPLACE THIS WITH THE PROVIDED CLIENT_ID]
NEXT_PUBLIC_SSO_CLIENT_SECRET=[REPLACE THIS WITH THE PROVIDED CLIENT_SECRET]

`CLIENT_ID` replace this with the provided `CLIENT_ID` from https://dapp.shield.aesirx.io/
`CLIENT_SECRET` replace this with the provided `CLIENT_SECRET` fromhttps://dapp.shield.aesirx.io/
SSO Button
you can pass className, text, options props and onGetData function to control it
options are for which logins do you want to use and you have wallets set up:
concordium- Concordium wallet loginmetamask- Metamask wallet loginregular- Regular login to your site
import { SSOButton } from "aesirx-sso";

const onGetData = async (response) => {
  //response is a Object that return from SSO, you can use it to handle Authentication in your App
  /*
    Example:
       await updateUserData(response.access_token);
      redirectProfile(response.access_token);
    */
};

<SSOButton
  className="btn w-100 fw-medium btn-success position-relative d-flex align-item-center justify-content-center mt-3"
  text={"SSO Login"}
  onGetData={onGetData}
  options={["concordium", "metamask", "regular"]}
/>;